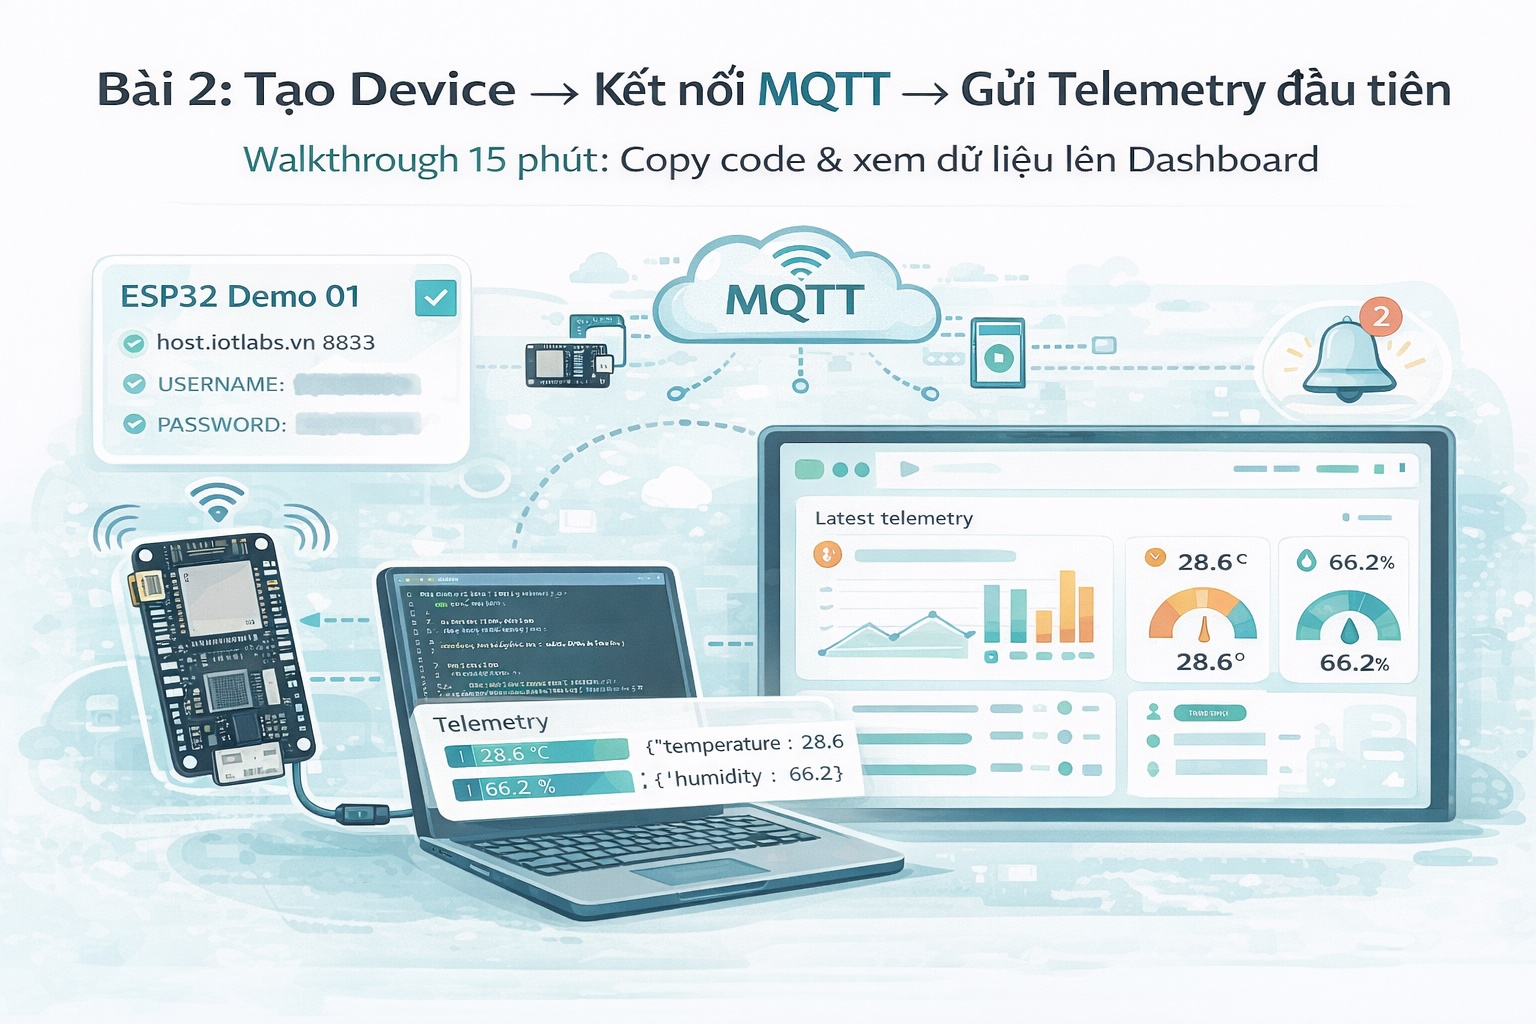
Series: Hiểu về MQTT và Ứng dụng thực tế trong IoT
1) Mục tiêu
Sau bài này bạn sẽ làm được end-to-end:
- Tạo Device trên IoTLabs Cloud
- Copy đúng MQTT Host / Port / Username / Password / Topic
- Chạy được code ESP32 gửi telemetry
- Xem dữ liệu hiển thị trên dashboard ngay
Bài này dùng mock sensor (random) để bạn test nhanh mà không cần cảm biến.
2) Chuẩn bị
Phần cứng
- 1 board ESP32 (ESP32 DevKit / ESP32-C3 / ESP32-S3 đều được)
- Wi-Fi 2.4GHz
Phần mềm
- Arduino IDE
- Cài thư viện:
- PubSubClient (Library Manager → tìm “PubSubClient”)
3) Triển khai
Bước 1 — Tạo Device trên IoTLabs Cloud
- Vào IoTLabs Cloud → chọn Project
- Mở Devices → Create Device
- Đặt tên ví dụ:
ESP32 Demo 01→ Create
Trong trang Device Details, bạn cần lấy các thông tin sau
MQTT_HOSTMQTT_PORT(TLS thường là 8883)MQTT_USERMQTT_PASSTOPIC_TELEMETRY(topic telemetry của device)
Chỉ cần copy đúng 5 giá trị trên là chạy được.
Bước 2 — Chốt payload telemetry “chuẩn hiển thị dashboard”
Để dashboard dễ hiểu và mở rộng tốt, payload tối giản nên theo dạng:
{
  "ts": 1768324653,
  "metrics": {
    "temperature": 28.6,
    "humidity": 66.2
  }
}
ts: Unix timestamp seconds (khuyến nghị)metrics: các số đo bạn muốn hiển thị
Bước 3 — Test nhanh bằng PC (tuỳ chọn nhưng rất hữu ích)
Nếu bạn quen command line, có thể test publish trước khi đụng ESP32:
- Dùng
mosquitto_pubđể gửi 1 gói telemetry lên topic của device. - Nếu dashboard nhận được, tức là topic/credential đúng.
Phần này tuỳ chọn. Nếu bạn chỉ muốn làm với ESP32, có thể bỏ qua.
Bước 4 — Code ESP32 hoàn chỉnh
Chỉ cần sửa phần CONFIG.
/*
  IoTLabs Cloud - ESP32 MQTT Telemetry Quickstart
  ----------------------------------------------
  - WiFi connect
  - MQTT connect (TLS)
  - Publish telemetry mỗi 30 giây (mock sensor)

  Libraries:
  - WiFi (built-in)
  - WiFiClientSecure (built-in)
  - PubSubClient
*/

#include <WiFi.h>
#include <WiFiClientSecure.h>
#include <PubSubClient.h>

// =====================
// CONFIG (SỬA Ở ĐÂY)
// =====================
const char* WIFI_SSID = "YOUR_WIFI";
const char* WIFI_PASS = "YOUR_PASS";

const char* MQTT_HOST = "mqtt.iotlabs.vn";   // lấy từ Device Details
const int   MQTT_PORT = 8883;                // TLS thường 8883

const char* MQTT_USER = "YOUR_MQTT_USER";    // lấy từ Device Details
const char* MQTT_PASS = "YOUR_MQTT_PASS";    // lấy từ Device Details

const char* TOPIC_TELEMETRY =
  "iotlabs/<project_id>/devices/<device_id>/telemetry"; // lấy từ Device Details

// Test nhanh: bỏ verify cert (không khuyến nghị production)
#define MQTT_TLS_INSECURE true

// =====================
// GLOBALS
// =====================
WiFiClientSecure net;
PubSubClient mqtt(net);

unsigned long lastSendMs = 0;
const unsigned long SEND_INTERVAL_MS = 30UL * 1000UL; // 30s

// =====================
// WIFI
// =====================
void connectWiFi() {
  if (WiFi.status() == WL_CONNECTED) return;

  Serial.print("[WiFi] Connecting to ");
  Serial.println(WIFI_SSID);

  WiFi.mode(WIFI_STA);
  WiFi.begin(WIFI_SSID, WIFI_PASS);

  unsigned long start = millis();
  while (WiFi.status() != WL_CONNECTED) {
    delay(300);
    Serial.print(".");
    if (millis() - start > 15000) {
      Serial.println("\n[WiFi] Timeout, retry...");
      WiFi.disconnect(true);
      delay(500);
      WiFi.begin(WIFI_SSID, WIFI_PASS);
      start = millis();
    }
  }

  Serial.println("\n[WiFi] Connected!");
  Serial.print("[WiFi] IP: ");
  Serial.println(WiFi.localIP());
}

// =====================
// MQTT
// =====================
void connectMQTT() {
  if (mqtt.connected()) return;

  Serial.println("[MQTT] Connecting...");

  #if MQTT_TLS_INSECURE
    net.setInsecure();
  #endif

  mqtt.setServer(MQTT_HOST, MQTT_PORT);

  // Client ID nên unique
  String clientId = String("iotlabs-") + String((uint32_t)ESP.getEfuseMac(), HEX);

  bool ok = mqtt.connect(clientId.c_str(), MQTT_USER, MQTT_PASS);
  if (ok) {
    Serial.println("[MQTT] Connected!");
  } else {
    Serial.print("[MQTT] Failed, rc=");
    Serial.println(mqtt.state());
    delay(1500);
  }
}

// =====================
// MOCK SENSOR
// =====================
struct SensorData {
  float temp;
  float hum;
};

SensorData readSensors() {
  SensorData d;
  d.temp = 24.0 + (float)(esp_random() % 800) / 100.0;   // 24.00 -> 31.99
  d.hum  = 45.0 + (float)(esp_random() % 4000) / 100.0;  // 45.00 -> 84.99
  return d;
}

// Timestamp demo (millis -> seconds).
// Production: dùng NTP hoặc time service để có thời gian thực.
uint32_t nowUnixSecondsApprox() {
  return (uint32_t)(millis() / 1000UL);
}

void publishTelemetry() {
  SensorData d = readSensors();
  uint32_t ts = nowUnixSecondsApprox();

  char payload[256];
  snprintf(payload, sizeof(payload),
           "{\"ts\":%lu,\"metrics\":{\"temperature\":%.2f,\"humidity\":%.2f}}",
           (unsigned long)ts, d.temp, d.hum);

  Serial.print("[MQTT] Publish: ");
  Serial.println(payload);

  bool ok = mqtt.publish(TOPIC_TELEMETRY, payload);
  if (!ok) {
    Serial.println("[MQTT] Publish failed (will retry next loop)");
  }
}

// =====================
// ARDUINO
// =====================
void setup() {
  Serial.begin(115200);
  delay(300);

  connectWiFi();
  connectMQTT();
}

void loop() {
  connectWiFi();
  connectMQTT();

  mqtt.loop();

  if (mqtt.connected() && (millis() - lastSendMs >= SEND_INTERVAL_MS)) {
    lastSendMs = millis();
    publishTelemetry();
  }

  delay(20);
}
3 lưu ý quan trọng
setInsecure()chỉ để bạn test nhanh. Khi production, nên cấu hình CA cert để TLS đúng chuẩn.tsdemo đang lấy từmillis()nên không phải thời gian thực. Khi làm dự án thật, hãy đồng bộ thời gian (NTP/time service).- Tần suất mặc định 30s. Bạn có thể chỉnh theo mục tiêu (xem Bài S1-02).
Bước 5 — Upload và kiểm tra Serial Monitor
- Upload code
- Mở Serial Monitor (115200)
Bạn sẽ thấy kiểu:
[WiFi] Connected!
[MQTT] Connected!
[MQTT] Publish: {"ts":1234,"metrics":{"temperature":28.60,"humidity":66.20}}
Bước 6 — Xem telemetry trên Dashboard
Vào IoTLabs Cloud:
- Mở Device Details
- Vào phần Telemetry / Live Data / Dashboard
- Bạn sẽ thấy:
- Latest values: temperature/humidity
- Chart (nếu UI có biểu đồ)
4) Khắc phục các vấn đề
90% các lỗi thường xuyên gặp phải nằm ở đây:
Lỗi 1 — MQTT connect fail
- Sai
MQTT_USER/MQTT_PASS - Sai
MQTT_PORT(TLS thường 8883) - Host sai / DNS lỗi / mạng chặn
Lỗi 2 — Publish ok nhưng dashboard không hiện
- Sai
TOPIC_TELEMETRY - Payload không đúng format (thiếu
metrics, hoặc key khác với dashboard parse)
Lỗi 3 — TLS lỗi chứng chỉ
- Test nhanh:
setInsecure() - Chạy thật: cấu hình CA cert đúng để TLS an toàn
5) Bạn đã “xong bài 2” — Bước tiếp theo để dùng thật
Từ demo này, bạn nâng cấp lên dự án thật theo 3 bước:
- Thay
readSensors()bằng cảm biến thật (DHT22/DS18B20/INA219/…) - Thêm topic
.../statusđể gửi heartbeat (pin, RSSI, uptime) - Thêm
eventcho cảnh báo (cửa mở, khói/gas, vượt ngưỡng…)
-> Bài tiếp theo trong series
Bài 3: 3 loại dữ liệu IoT phổ biến: telemetry / status / event (và cách map lên dashboard)
→ giúp bạn thiết kế dữ liệu “đúng chuẩn” để dashboard đẹp và dễ mở rộng.