
Series: Lập trình Raspberry Pi & Ứng dụng thực tế Phần 3 — Python “build app thật” Bài 18: Bảo mật căn bản cho Pi chạy production (SSH keys, UFW, fail2ban, user & quyền)
1) Mục tiêu bài học
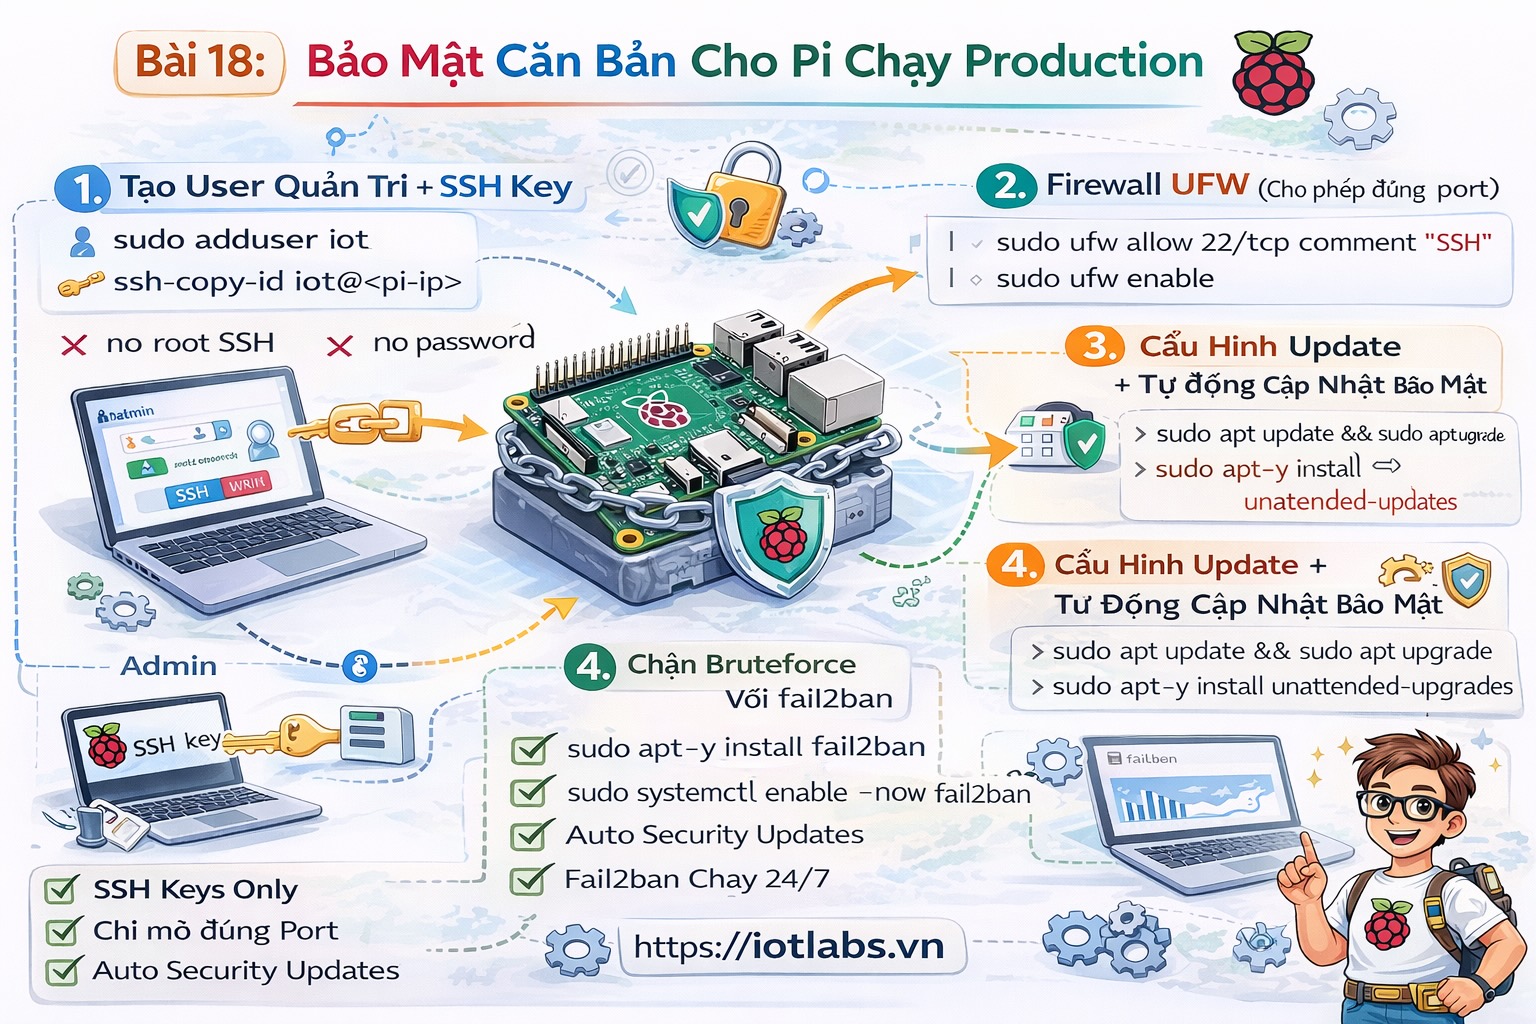
Sau bài này bạn sẽ:
- Đăng nhập SSH bằng key (không dùng password).
- Tắt root login, tắt password auth (giảm rủi ro).
- Bật UFW theo nguyên tắc “mở tối thiểu”.
- Cài fail2ban chống brute-force SSH.
- Thiết lập user + quyền chạy service an toàn.
2) SSH key login (khuyến nghị bắt buộc)
2.1 Trên máy bạn: tạo key (nếu chưa có)
ssh-keygen -t ed25519 -C "iotlabs-pi"2.2 Copy public key lên Pi
ssh-copy-id developer@<IP_CUA_PI>Test đăng nhập:
ssh developer@<IP_CUA_PI>3) Harden SSH (tắt password, tắt root login)
Mở file SSH config trên Pi:
sudo nano /etc/ssh/sshd_configTìm và set (bỏ # nếu có):
PermitRootLogin no
PasswordAuthentication no
PubkeyAuthentication yes
Reload SSH:
sudo systemctl reload sshQuan trọng: đảm bảo key login OK trước khi tắt password để khỏi “tự khoá cửa”.
4) UFW: mở tối thiểu
Cấu hình cơ bản:
sudo apt -y install ufw
sudo ufw default deny incoming
sudo ufw default allow outgoing
sudo ufw allow 22/tcp
sudo ufw enable
sudo ufw status verbose
Nếu bạn có Nginx (Bài 17):
sudo ufw allow 80/tcp
sudo ufw allow 443/tcp
Nếu API chỉ dùng nội bộ LAN: chỉ allow từ IP LAN (khuyến nghị):
sudo ufw allow from 192.168.1.0/24 to any port 80 proto tcp
sudo ufw allow from 192.168.1.0/24 to any port 443 proto tcp
5) Fail2ban chống brute-force SSH
Cài:
sudo apt -y install fail2banTạo config local:
sudo nano /etc/fail2ban/jail.localDán (mẫu tối giản cho SSH):
[sshd]
enabled = true
port = 22
maxretry = 5
findtime = 10m
bantime = 1h
Restart:
sudo systemctl enable --now fail2ban
sudo systemctl restart fail2ban
Kiểm tra:
sudo fail2ban-client status
sudo fail2ban-client status sshd
6) User & quyền chạy service (không chạy root)
6.1 Tạo user riêng cho service (tuỳ chọn)
Nếu bạn muốn tách hẳn user chạy app:
sudo adduser iotagent
sudo usermod -aG dialout,i2c,spi,gpio iotagent 2>/dev/null || true
Nhóm gpio/i2c/spi tuỳ OS. Có máy không có sẵn; không sao.
6.2 Chạy systemd service bằng user đó
Trong /etc/systemd/system/iotlabs-api.service:
User=iotagent
WorkingDirectory=/home/iotagent/apps/iotlabs-py-agent
7) Checklist “đủ an toàn” cho Pi gateway
- SSH login bằng key ✅
- PermitRootLogin no ✅
- PasswordAuthentication no ✅
- UFW deny incoming, mở tối thiểu ✅
- fail2ban bảo vệ ssh ✅
- Service không chạy bằng root ✅
8) Bài tập nâng cấp
- Giới hạn SSH chỉ cho phép từ IP của bạn:
sudo ufw delete allow 22/tcp
sudo ufw allow from 192.168.1.10 to any port 22 proto tcp- Tạo user iotagent và chuyển service sang user đó.
- Bật log rotate/journald limit (nhắc lại Bài 2) để chạy lâu không đầy disk.